This widget allows you to display category from your site in an elegant way. You can add multiple categories widget to display the products beautifully on your side. This widget allows you to show all available categories along with the top product. Learn how you can use it.
How to add Woo Categories Widget?
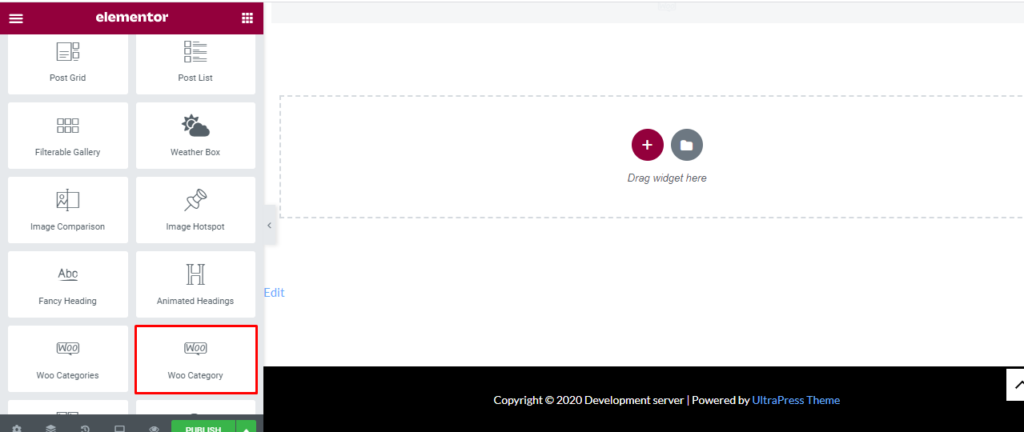
Open the page where you want to add the Woo Categories Widget and click Edit with elementor. Then on the element section, scroll down to locate the Woo Category Widget option under Ultra Addons. Drag the widget and drop it over the box that reads drag the widget here.
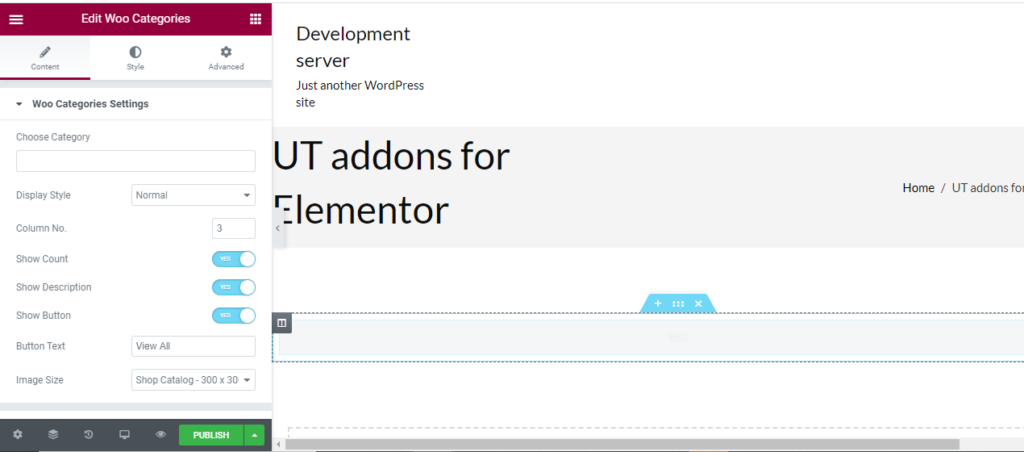
Once you drag the widget in the place you need, it should look like this.
How to use Woo Category?
Content
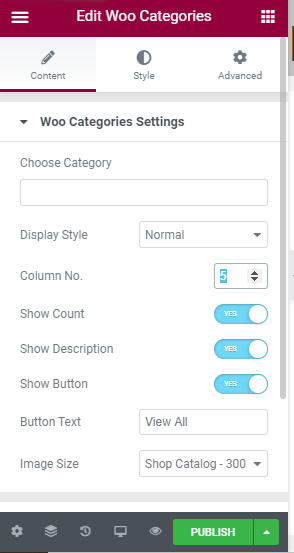
Woo categories setting: Firstly, you can choose the category you want to add. You cannot add the categories here but choose from the ones you add in the Dashboard. Display style can be normal our carousel. You can add 1 to 5 column to display your product. Also, enable or disable Show count, Show description, Show button, and button text. Lastly, you can use the set image position or custom the image size.
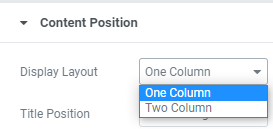
Content Position: Display layout can only be one column or tow column. Title position can also be determined.
Style
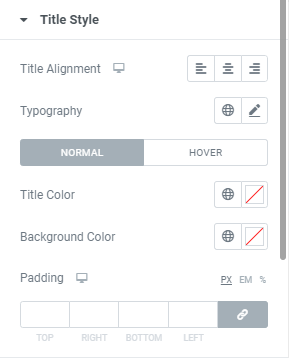
Title: For the title, you can change color, Typography, and alignment for normal and hover in primary and secondary post.
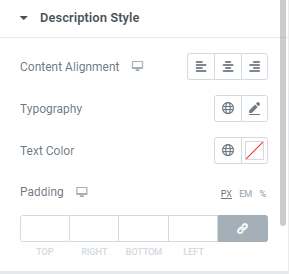
Description: For the description, you can change alignment, color, background color, typography, and padding.
Button Style: You can make your blog display even more elegant using a button. You can change the alignment, typography color, border type, radius, and shadow here.
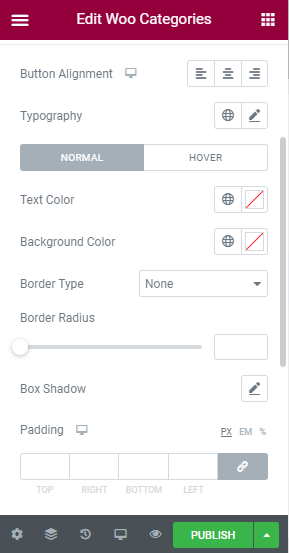
Image: Only image radius can be modified here.
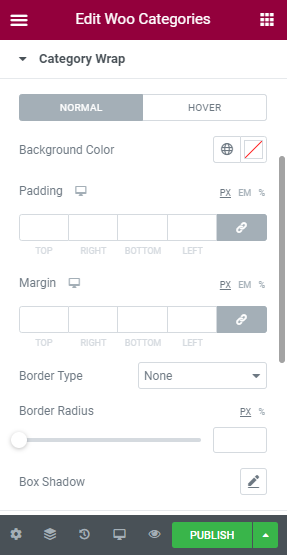
Category Wrap: You can make your category display even more elegant by wrapping it will elegant warp. You can change the color, border type, radius and shadow here.