Image is an very important display for a website. The use of image as an replacement to content is now an old trend. Image comparison widget helps to add two images and compare them. Either it might be placing “Before” and “After” image or be it for “Fake” and “Real” product, image comparison has some solid use. Here let’s learn about the use of Image comparison widget with elementor.

How to add Image comparison?
Open the page where you want to add the Image comparison and click Edit with elementor. Then on the element section, scroll down to locate the Image comparison option under Ultra Addons. Drag the widget and drop it over the box that reads drag the widget here.
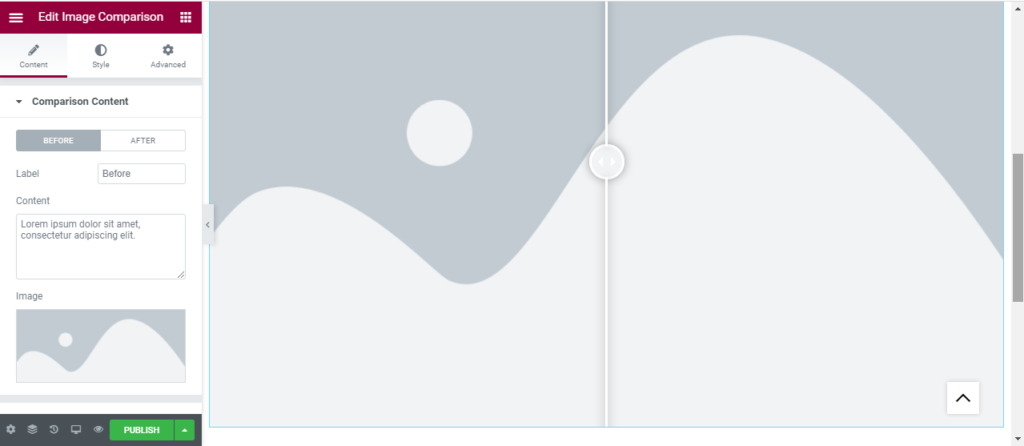
Once you drag the widget in the place you need, it should look like this.
How to use Weather Box?
Content
Comparison content: Firstly, you can change the label which is “before” by default. You can also change the original content and image. Now, same changes can be done for “After” section as well.

Setting: Increase visible ratio will make your image lighter. Orientation can be vertical or horizontal . Also, you get three different slider. Enable or disable Overlay, Content, or label.

Style
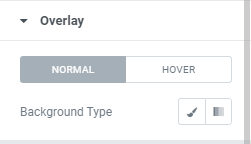
Overlay: You can add the over layer of image or gradient.
Handel: Here, change the Icon color, background Type, border type, radius, and box shadow.
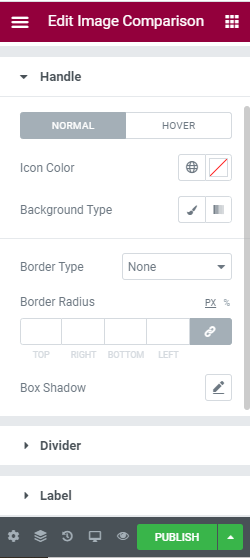
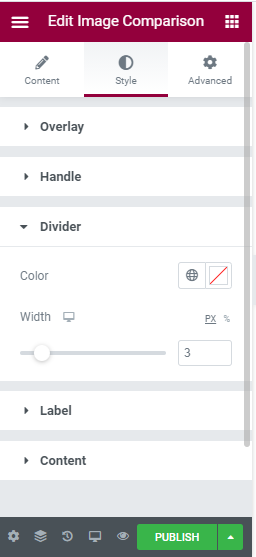
Divider: Color and width for the divider can be determined here.
Label: Here, you can determine the color and position of the label you will be using.

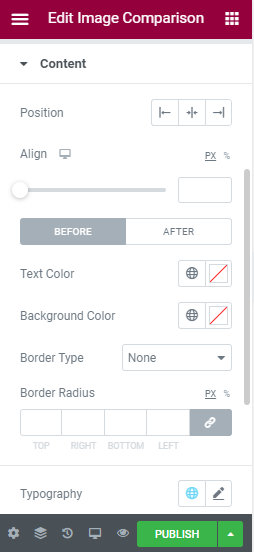
Content: For the content, you can change position and alignment. Text color, and background color as well as border type can be changed here.