The use of animation is not the latest tread on a website. But it is still a very important element to grab users’ attention. An animated heading near the call to action button can improve your click-through rate. Basically, the use of colorful animated heading will drive the attention of your users to the place you want the attention to be. Let’s learn how to add such an element with an Animated heading widget.
How to add Animated heading?
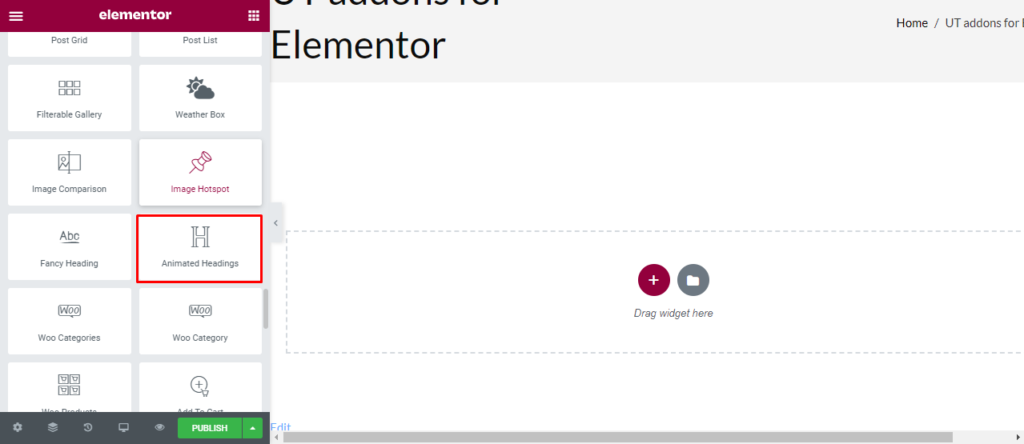
Open the page where you want to add the Animated heading and click Edit with elementor. Then on the element section, scroll down to locate the Animated heading option under Ultra Addons. Drag the widget and drop it over the box that reads drag the widget here.
Once you drag the widget in the place you need, it should look like this.
How to use Animated heading?
Content
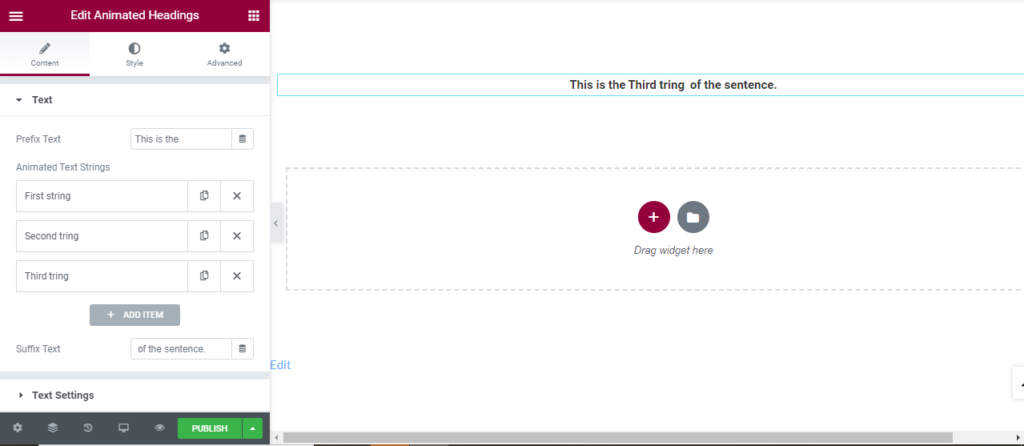
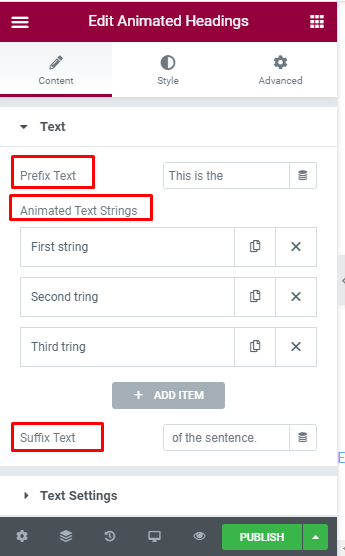
Text: The text prefix is the initial part of the heading that will remain constant. Here, Prefix Text is “This is the”. Then, you can add multiple animated text strings that will be displayed. Lastly, add the suffix text which is also the constant one.
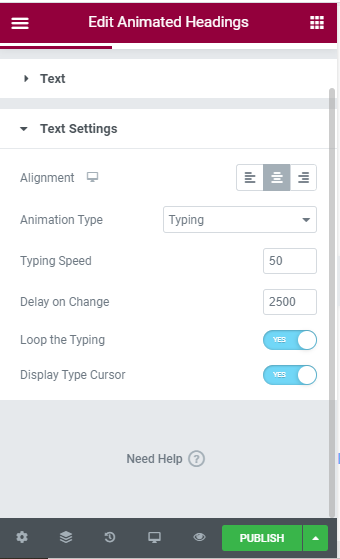
Text Setting: Firstly, change the alignment of the text. Select between eight animation types and determine their speed.
Style
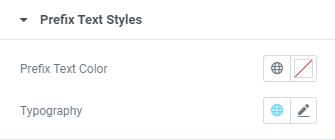
Prefix text style: Text color and typography for prefix can be changed.
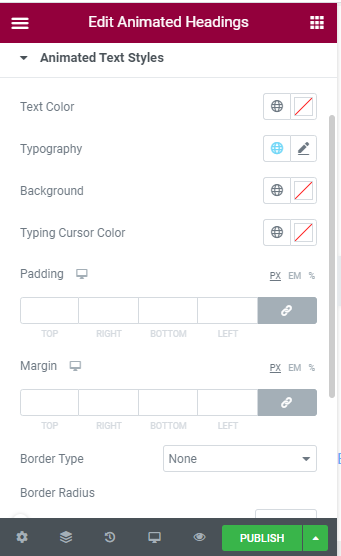
Animated text style: Text color and typography for animated text can be changed. You can also add background and border for the animated text.
Suffix text style: Text color and typography for suffix can be changed.
