Since a logo is a visual representation to your business, it’s very important to your brand. A small logo reflects your company’s name, message and values.
The Site Logo widget is a vey dynamic widget that flawlessly displays the Site Logo assigned in the WordPress Customizer. This particular widget allows you to change some design aspects of the logo to make it even more elegant. You can now add site logo anywhere you want in the website.
How to add Site logo?
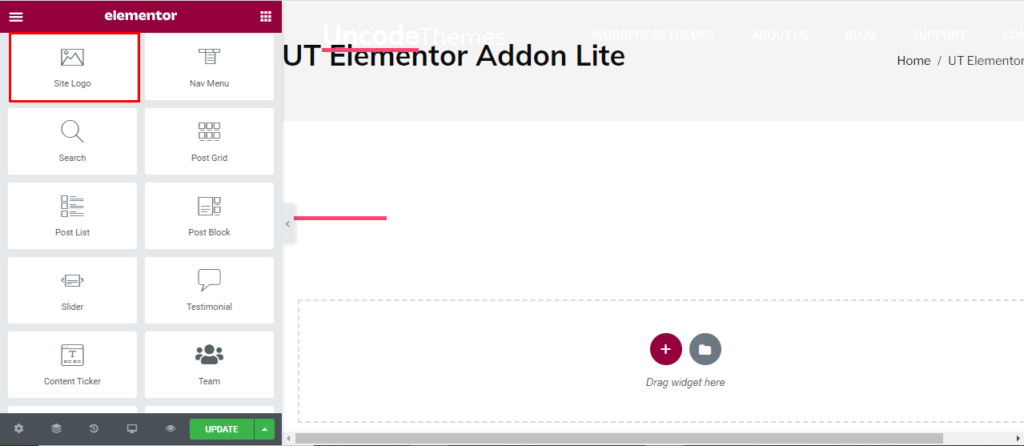
Open the page where you want to add the logo and click Edit with elementor. Then in the search widget box, type “Site logo”. Now drag the Site logo to the region you need to add the widget.
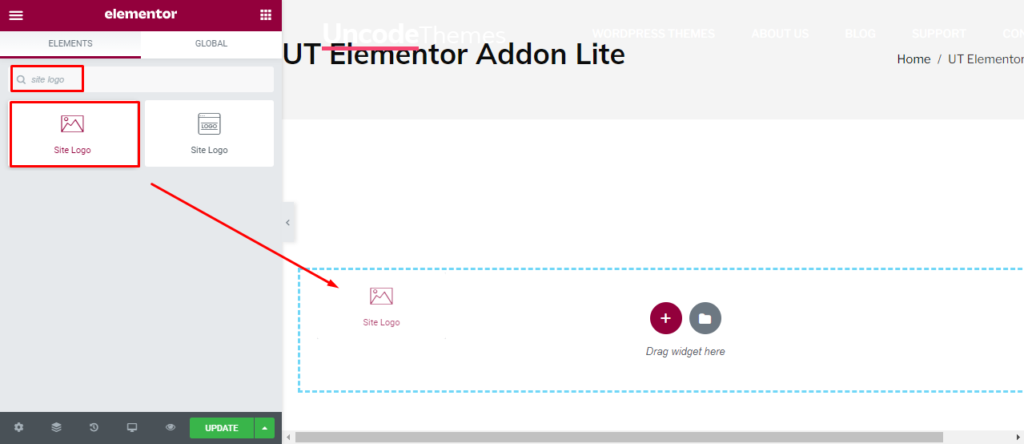
Once you drag the widget in the place you need, it should look like this.
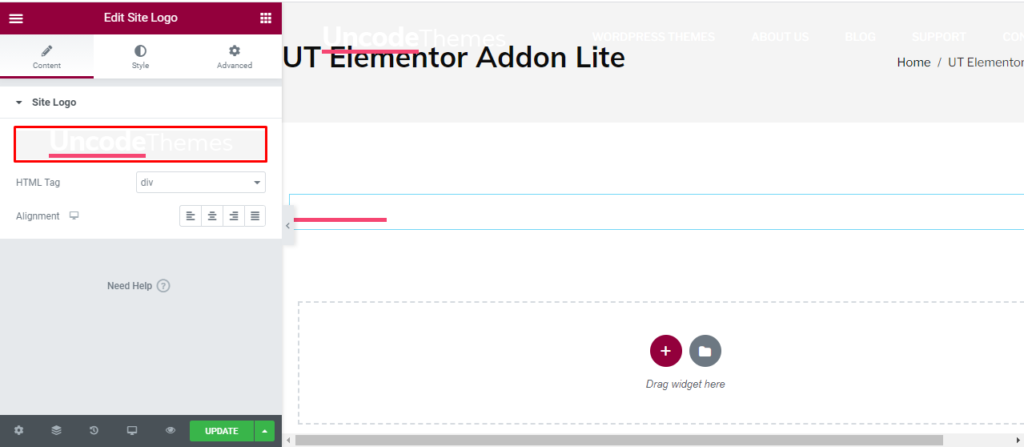
Now you can start to edit the content.
How to use Site Logo widget?
Content
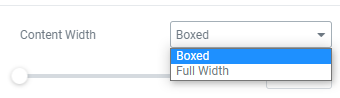
Content Width: You can keep the logo in a boxed form and then move the box towards the center or right side of the page. Or you can make it full width.
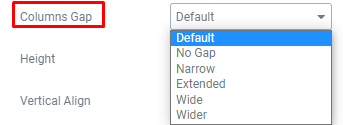
Column Gap: You can either remove the gap or change then spacing of the column you add the logo.
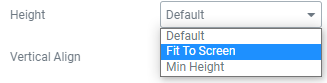
Height: The logo can either be of Minimum height, fit perfectly to the screen or you can just leave it default.
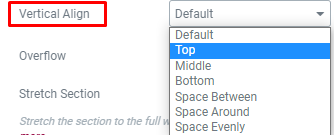
Vertical align: six different options for the vertical placement of your logo is available.
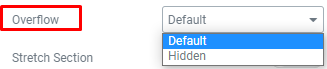
Overflow: You can either remove the overflow or keep it default.
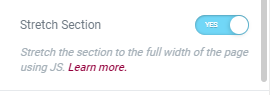
Stretch section: Enabling stretch section with increase the size on horizontal screen.
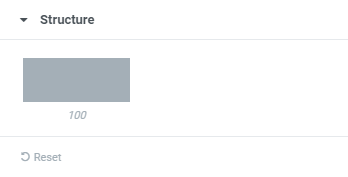
Structure: The structure should fit to the screen. You can reset it to default with a reset button in the end.
Style
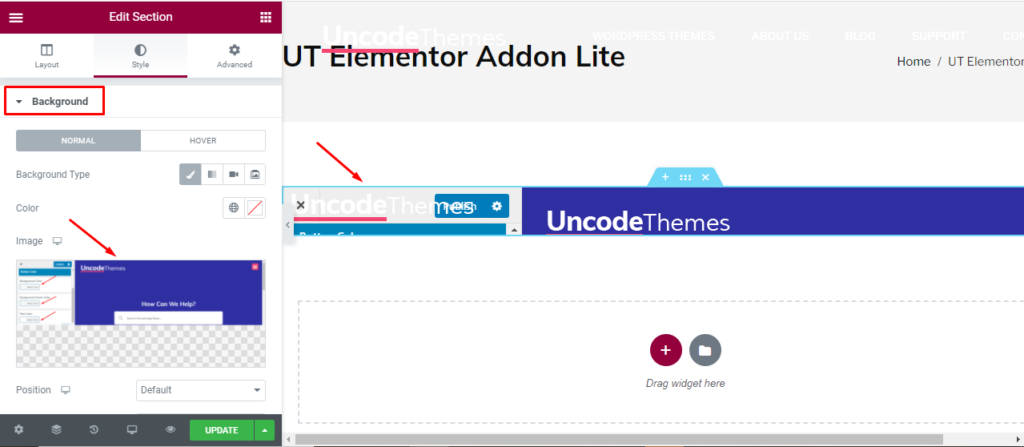
Background: You can add a image, gradient, slideshow or video as a background of your site logo. Similarly, different background can be used for the Hover.
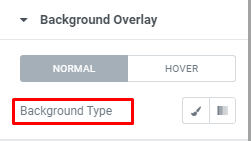
Background overlay: You can either add an image or a gradient as background overlay for both normal and hover.
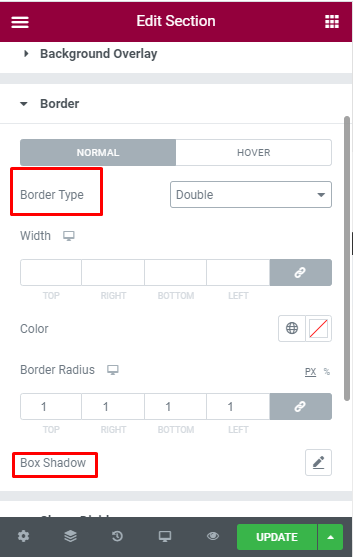
Border: Here, you can add border to your logo and make it look even more elegant.
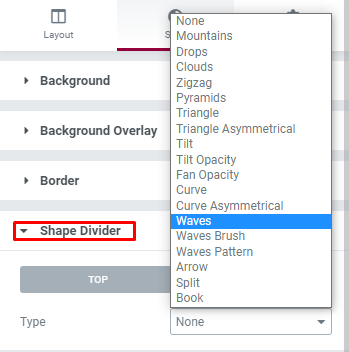
Shape divider: Different kind of shape dividers is applicable in the logo.
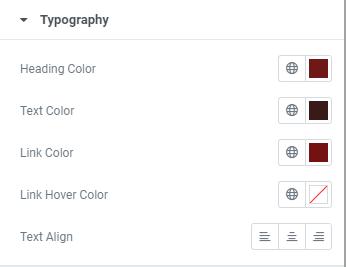
Typography: Lastly, you can change the Typography that includes heading color, text color, link color, link hover color, and text alignment.
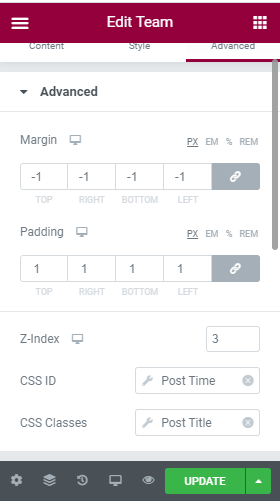
Advanced
Advanced: Here, you can increase or decrease the margin between the column, and change the padding. Other options are Z-index for desktop, CSS ID, and CSS classes.
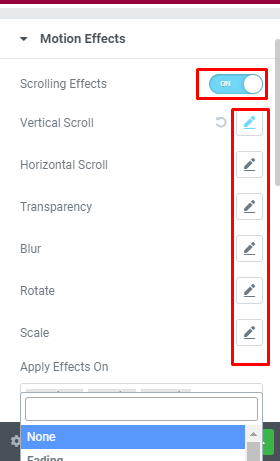
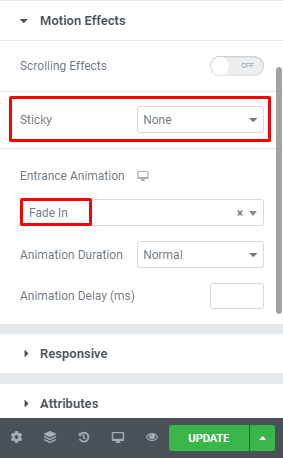
Motion effect: You can make your team section even more elegant by enabling the motion section. Once it is enabled, you can make other changes in the speed and looks. You can also enable or disable mouse effect, make it sticky to the top or button, and lastly change the entrance animation.
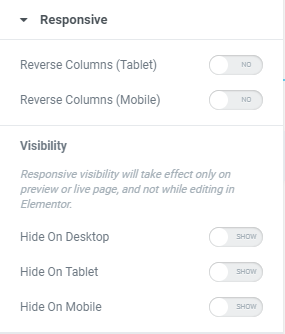
Responsive: You can make your team content responsive for tablet, Mobile and Desktop using this section.
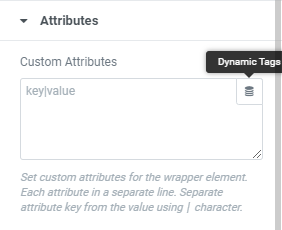
Attributes: You can set the custom attributes for the wrapper element. You can also use the dynamic tags.
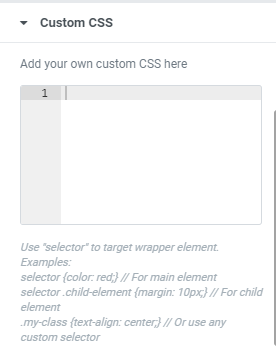
Custom CSS: Lastly, if all of these features are not enough, you can add your own CSS code here.