This is an extremely helpful build-in widget to display multiple content in your webpage. When you need to show multiple post at a time, your page seems to be crowded. In such cases, post grid widget can easily create any post type grid and display multiple post content or page content in a clean and elegant way. UltraPress Post grid widget is easy to use and very effective tool for website development.

Now, you can build amazing gird for WordPress in record time! Let’s learn how.
How to add Post Grid?
Open the page where you want to add the Post Grid and click Edit with elementor. Then on the element section, scroll down to locate the Post Grid option. Drag the widget and drop it over the box that reads drag Widget here.

Once you drag the widget in the place you need, it should look like this.

Now you can start to edit the content.
How to use Post Grid widget?
Content
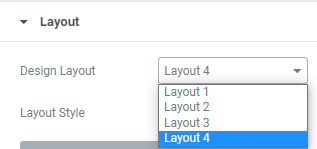
Design Layout: Here, you can choose from 4 pre-build designs to list your content. Each layout has distinct size and image combination.
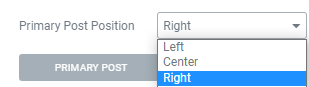
Primary post position: You can align the post in center, left or right.
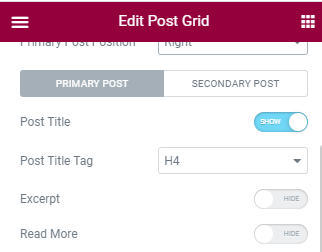
Post title: You can either hide or display the post title.
Post title tag: You can change the heading of Post title tag to make the title appear smaller or bigger.
Excerpt: You can hide or show the excerpt that has been Witten in your blog post.
Read more: You can enable or disable read more option and also change the “read more” text to “show more”, “know all” or whatever you like.
Show category: You can either hide or display the category from this section and also determine it’s position.
Show date: You can either hide or display the date from this section and also determine it’s position.
Show author: You can either hide or display the author from this section and also determine it’s position.
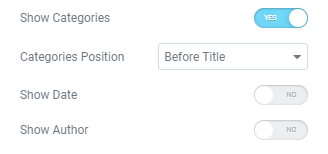
Image: Since most on the content in column are displayed with image, you can set a size and widget for all the images used in the primary and secondary post grid section. You can also set a fallback image.

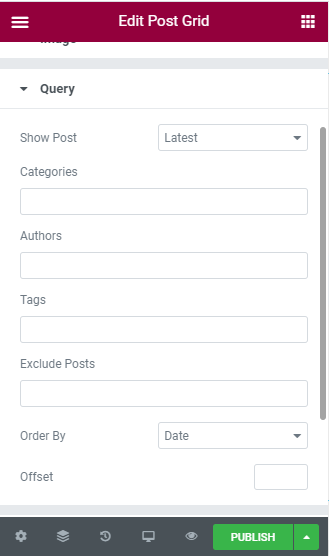
Query: Here, you can set the categories, Author, and tag. You can also exclude some post if you don’t like it. You can arrange the post in ascending or descending order as per date, Comment, Author and so on.
With offset, you can determine the number of initial post you want to skip.
With No of post, you can display more or less number of post.
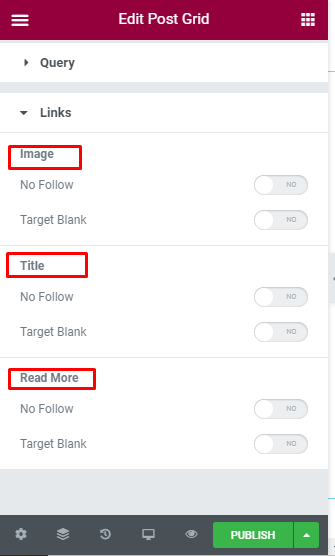
Links: You can add the link over image, title, and read more section. You can enable or disable the No follow and target blank.
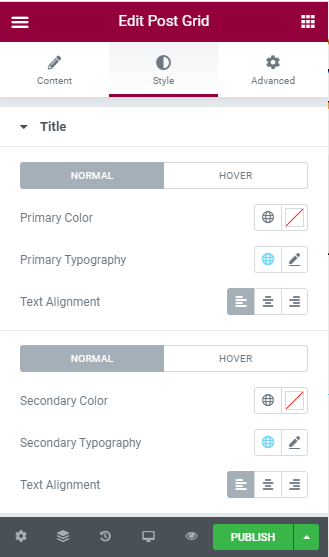
Style
Title: For the title, you can change color, Typography, and alignment for normal and hover in primary and secondary post.
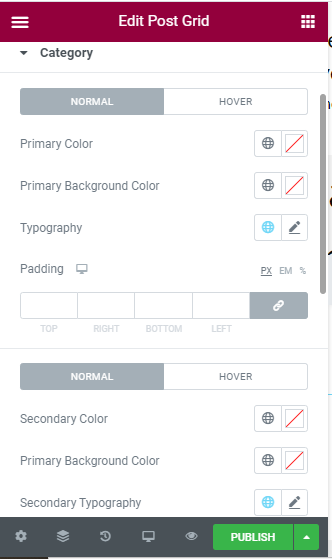
Category: For the category, you can change color, background color, typography, and padding for normal and hover in primary and secondary post.
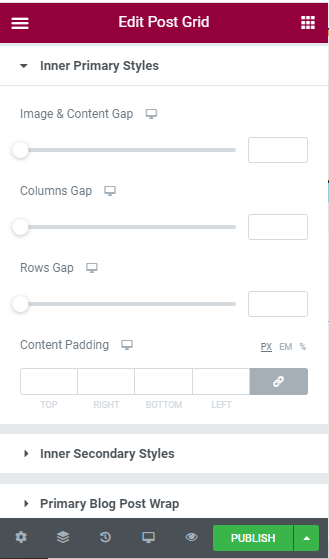
Inner Primary Style: You can increase or decrease the image and content gap, Column gap, Rows gap and padding for Primary content.
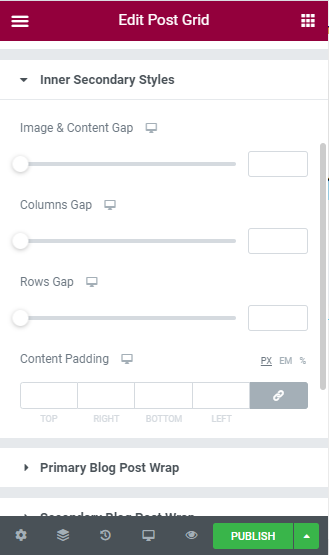
Inner Secondary Style: You can increase or decrease the image and content gap, Column gap, Rows gap and padding for Secondary content.
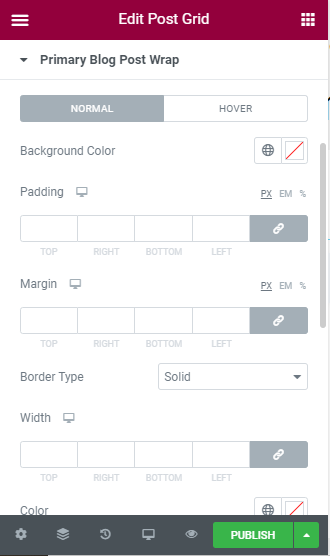
Primary Blog post Wrap: You can make your blog display even more elegant by wrapping it will elegant warp. You can change the color, border type, radius and shadow here.
Secondary Blog Post Wrap: Exactly same changes mentioned above is also available for the secondary blog post.
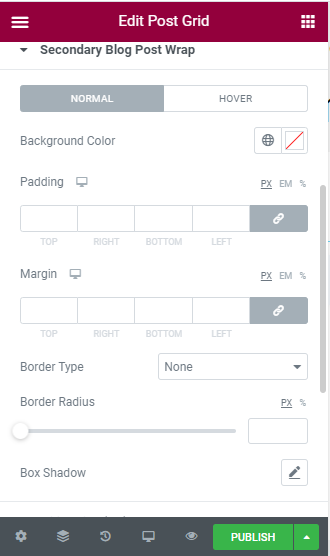
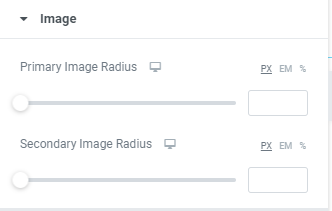
Image: Here, you can only change the radius for primary and secondary images.
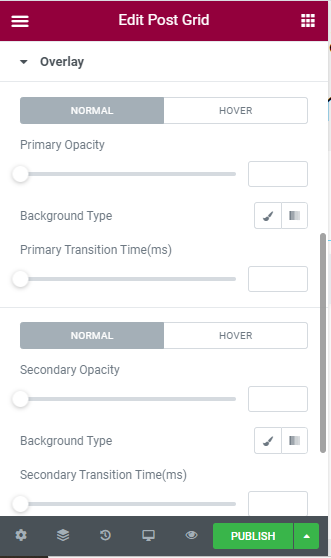
Overlay: You can add the over layer of image or gradient and change it’s opacity and transition time.